Easy Old-Fashioned Butter Mints: Your Melt-in-Your-Mouth Recipe for Nostalgia
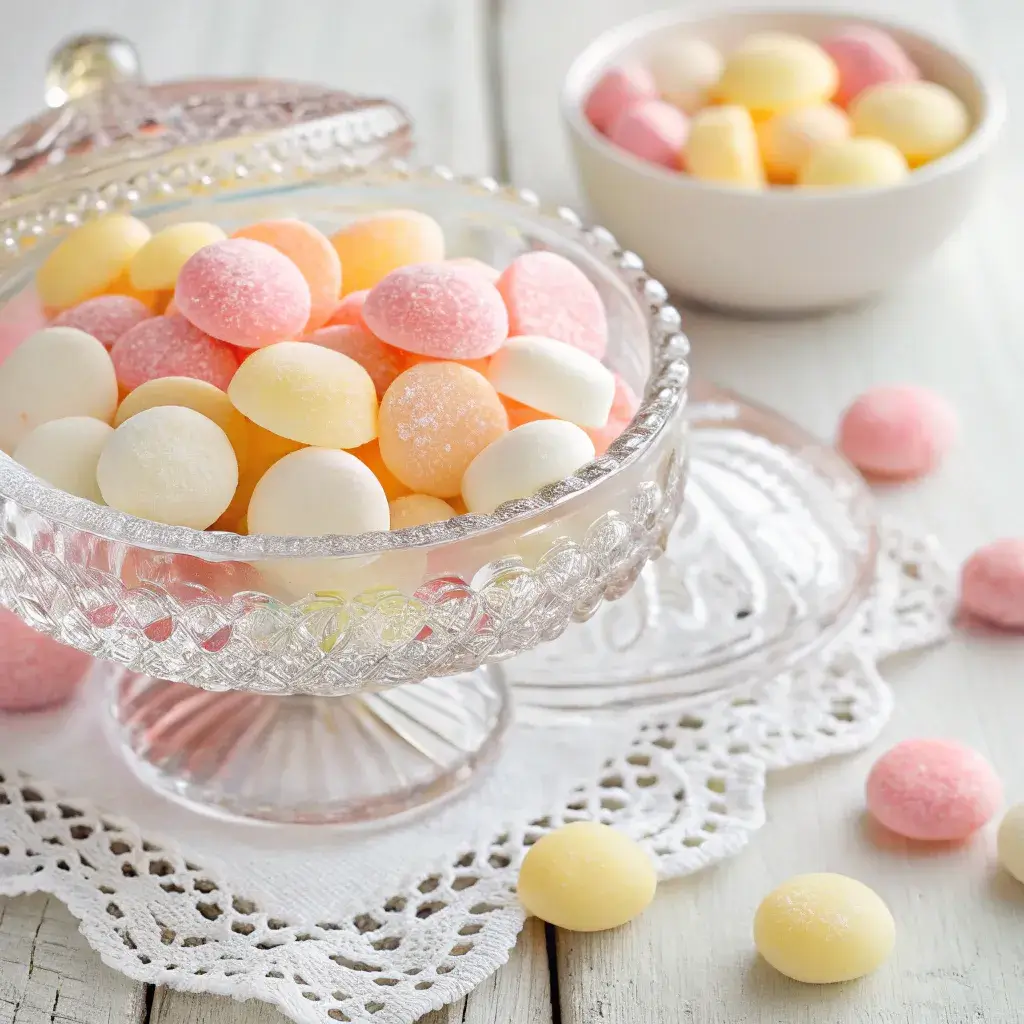
Step into a world where candy doesn't just taste sweet, but tastes like a cherished memory. Imagine a delicate, pastel-hued mint that truly melts on your tongue, releasing a luxurious wave of creamy butter perfectly balanced with a cool, gentle whisper of peppermint. This isn't just candy; it's the magic of
homemade butter mints old fashioned style. These aren't the hard, chalky mints you sometimes find, but tender, elegant confections infused with a rich, nostalgic flavor that speaks of grandmother's crystal dishes, church socials, and heartfelt hospitality.
If you've ever yearned to master a truly classic confection that's as beautiful as it is delicious, this guide to
homemade butter mints old fashioned goodness is your gateway. We promise you, making these delightful treats at home is a simple, incredibly rewarding process that fills your kitchen with sweetness and your heart with joy. Forget any intimidation about candy making – if you can roll play-dough, you can create these melt-in-your-mouth masterpieces, often in under an hour from start to finish!
The Irresistible Charm of Homemade Butter Mints
There’s a clear distinction between a store-bought after-dinner mint and a truly homemade butter mint. While commercial versions can often be dry, crunchy, and overwhelmingly artificial in flavor, our old-fashioned recipe delivers an experience of unparalleled softness and genuine taste. These mints boast a unique, velvety "meltaway" quality that simply can't be replicated by mass-produced candies. One bite and you'll understand why they're described as "absurdly addictive" – you'll find yourself gravitating back to the dish for "just one more."
Unlike mints that assault your palate with a toothpaste-like blast, these homemade versions offer a subtle, sophisticated peppermint note that complements the rich buttery base, rather than overpowering it. It’s a harmonious blend that makes these candies a timeless favorite, perfect for capping off a meal, serving at gatherings, or simply treating yourself to a moment of pure bliss. You'll quickly discover
Homemade Butter Mints: Why They're Better Than Store-Bought with every creamy, dissolving bite.
Why This Old-Fashioned Butter Mint Recipe is a Timeless Treasure
Beyond their incredible taste and texture, there are several compelling reasons why this recipe for
homemade butter mints old fashioned style continues to be cherished through generations:
*
Unparalleled Texture: As mentioned, the unique, velvety “meltaway” quality is a hallmark. They dissolve on your tongue, leaving behind a smooth, creamy sensation that store-bought varieties simply cannot match. This tenderness is a direct result of using real butter and powdered sugar.
*
Incredibly Versatile: While classic pillow shapes are traditional, you have complete freedom to personalize your mints. Roll them into logs and slice them, press them into decorative molds for special occasions, or even stamp them with small cookie cutters. Their versatility extends to color as well, allowing for soft pastels that suit any holiday or event.
*
Made with Real, Simple Ingredients: In an age of complex food labels, these mints stand out. With just butter, powdered sugar, cream, and a touch of flavoring, you control exactly what goes into your candy. This simplicity ensures a pure, unadulterated flavor that shines through. You'll appreciate how
Classic Butter Mints: Simple Ingredients, Velvety Texture come together so easily.
*
The Epitome of Handmade Generosity: A small box or bag of these Old-Fashioned Butter Mints is more than just a sweet treat; it’s a gift that genuinely says “I care.” They’re perfect for hostess gifts, party favors, or as a thoughtful gesture for friends and family, evoking a sense of warmth and personal connection.
While this article focuses on the beloved
homemade butter mints old fashioned experience, it's worth noting the vast world of minty confections. For those interested in a completely different flavor profile, a
chocolate mints recipe offers its own delightful combination of rich cocoa and cool peppermint, often using a distinct base. However, for a truly buttery, melt-in-your-mouth sensation, our classic butter mints are unmatched.
Essential Ingredients for Your Old-Fashioned Butter Mints
The simplicity of the ingredients for these mints is astounding. With just a few pantry staples, you can create this classic confection. The key is to use good quality ingredients, as each plays a vital role in achieving that perfect taste and texture.
*
Unsalted Butter (½ cup), softened: This is the undeniable star of the show. Use the best quality unsalted butter you can find, as it provides the rich flavor and namesake creaminess that defines these mints. Softened butter is crucial for achieving a smooth, well-incorporated dough.
*
Powdered Sugar (4 cups, sifted): Sifting the powdered sugar is absolutely non-negotiable for a perfectly smooth, lump-free texture. Even if your powdered sugar claims to be "lump-free," a quick sift will ensure an ethereal quality to your mints.
*
Heavy Cream or Evaporated Milk (2-3 tablespoons): This liquid binds the dough and adds moisture, contributing to the melt-in-your-mouth consistency. Evaporated milk is a traditional choice that lends a slightly richer flavor, but heavy cream works beautifully too. Start with 2 tablespoons and add more only if the dough feels too dry.
*
Peppermint Extract (½ – 1 teaspoon): This is where the "mint" comes in! Start with ½ teaspoon and taste a tiny bit of the mixture before adding more. You want a gentle, cool flavor that complements the butter, not an overwhelming, aggressive blast. Remember, you can always add more, but you can't take it away.
*
Salt (a tiny pinch): A small pinch of salt is essential. It doesn't make the mints salty, but rather balances the intense sweetness of the powdered sugar and enhances the rich butter flavor, making the overall taste more complex and satisfying.
*
Food Coloring (optional): A drop or two of soft gel food coloring (pink, yellow, or pale green are traditional) can give your mints that classic pastel charm. Gel colors are preferred as they don't add excess liquid to the dough.
No special candy-making equipment beyond standard kitchen tools is required! You'll find a stand mixer with a paddle attachment invaluable (though a hand mixer works with more elbow grease), a sifter for the sugar, a sturdy spatula, parchment paper for rolling and drying, and a pizza cutter or sharp knife for shaping.
Mastering the Art of Making Melt-in-Your-Mouth Mints (Step-by-Step Guidance)
The process of making these delightful old-fashioned butter mints is far simpler than you might imagine. Follow these steps for perfect results every time:
1.
Cream the Butter: In the bowl of your stand mixer (or using a hand mixer), beat the softened unsalted butter until it's light and fluffy. This aerates the butter, contributing to the mints' tender texture.
2.
Gradually Add Powdered Sugar: With the mixer on low speed, slowly add the sifted powdered sugar, about a cup at a time. The mixture will become very thick. Scrape down the sides of the bowl often to ensure everything is well combined.
3.
Incorporate Liquid and Flavoring: Once most of the sugar is mixed in, add the heavy cream or evaporated milk (start with 2 tablespoons), peppermint extract (start with ½ teaspoon), and the pinch of salt. Beat on low until just combined, then increase speed to medium-low and beat until smooth and creamy. The mixture should be thick, pliable, and resemble a soft dough. If it's too crumbly, add the remaining tablespoon of cream, a tiny bit at a time.
4.
Add Color (Optional): If using food coloring, add a drop or two of gel color and mix until uniformly distributed.
5.
Chill the Dough: Cover the bowl with plastic wrap and chill the dough in the refrigerator for at least 15-30 minutes. This makes the dough easier to handle and prevents it from becoming too sticky during shaping.
6.
Shape Your Mints:
*
Rolling and Cutting: On a surface lightly dusted with powdered sugar or between two sheets of parchment paper, roll out portions of the chilled dough to about ¼-inch thickness. Use a pizza cutter or a sharp knife to cut the dough into small squares, rectangles, or diamond shapes.
*
Rolling Small Balls: Alternatively, pinch off small pieces of dough and roll them into tiny balls between your palms.
*
Using Molds: Lightly dust silicone candy molds with powdered sugar and press small amounts of dough into the molds. Gently pop them out.
7.
Dry the Mints: Arrange the shaped mints in a single layer on parchment-lined baking sheets. Let them air dry at room temperature for 12-24 hours. This drying time is crucial; it allows the outside of the mints to firm up and develop a delicate crust, while the inside remains soft and creamy, preventing them from sticking together. The longer they dry, the firmer they will become.
8.
Store: Once fully dried, store your old-fashioned butter mints in an airtight container at room temperature. They will keep well for several weeks, if they last that long!
Tips for Perfecting Your Butter Mints
*
Don't Overmix: While creaming butter is good, once the powdered sugar is added, avoid overmixing. Overmixing can develop the gluten in the small amount of flour often found in powdered sugar, making the mints tougher.
*
Adjust Consistency: The dough should be soft enough to roll but firm enough not to stick excessively to your hands or the rolling pin. If it's too sticky, add a little more sifted powdered sugar. If it's too crumbly, add a tiny bit more cream.
*
Patience with Drying: Don't rush the drying step. It's what gives these mints their distinctive texture. If humidity is high, it might take a bit longer.
*
Flavor Variations: While peppermint is classic, consider other extracts for a fun twist: spearmint, wintergreen, or even a touch of vanilla or almond extract for a different kind of melt-in-your-mouth candy (though then they wouldn't truly be "butter mints").
In conclusion, making
homemade butter mints old fashioned style is a delightful journey back to a simpler time, offering a reward that far surpasses the minimal effort involved. These creamy, melt-in-your-mouth confections are more than just candy; they are a testament to the enduring power of homemade goodness and a beautiful way to share a little bit of joy and nostalgia. So, gather your ingredients, clear an hour in your schedule, and prepare to fall in love with these irresistible treats!